
A Beginner's Guide to 250 Amp TIG Torch Settings: Mastering the Art of TIG Welding
2025-10-12


A Beginner's Guide to 250 Amp TIG Torch Settings
Table of Contents
1. Introduction to TIG Welding
2. Understanding 250 Amp TIG Torches
3. Setting Up Your 250 Amp TIG Torch
4. The Importance of Proper TIG Welding Settings
5. Amperage Settings Explained
6. Post-Flow Settings: Why They Matter
7. Mastering Pulse Settings for 250 Amp TIG Welding
8. Common Mistakes to Av
A Beginner's Guide to 250 Amp TIG Torch Settings
Table of Contents
- 1. Introduction to TIG Welding
- 2. Understanding 250 Amp TIG Torches
- 3. Setting Up Your 250 Amp TIG Torch
- 4. The Importance of Proper TIG Welding Settings
- 5. Amperage Settings Explained
- 6. Post-Flow Settings: Why They Matter
- 7. Mastering Pulse Settings for 250 Amp TIG Welding
- 8. Common Mistakes to Avoid with TIG Torch Settings
- 9. Frequently Asked Questions
- 10. Conclusion
1. Introduction to TIG Welding
TIG (Tungsten Inert Gas) welding is one of the most versatile and refined welding processes available. It is known for its ability to produce high-quality welds on a variety of materials, including stainless steel, aluminum, and copper. For beginners, understanding the nuances of TIG welding, particularly when using a 250 Amp TIG torch, is crucial. This guide aims to provide you with a comprehensive overview of settings and techniques to ensure optimal performance.
2. Understanding 250 Amp TIG Torches
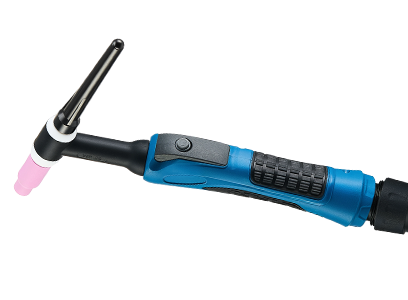
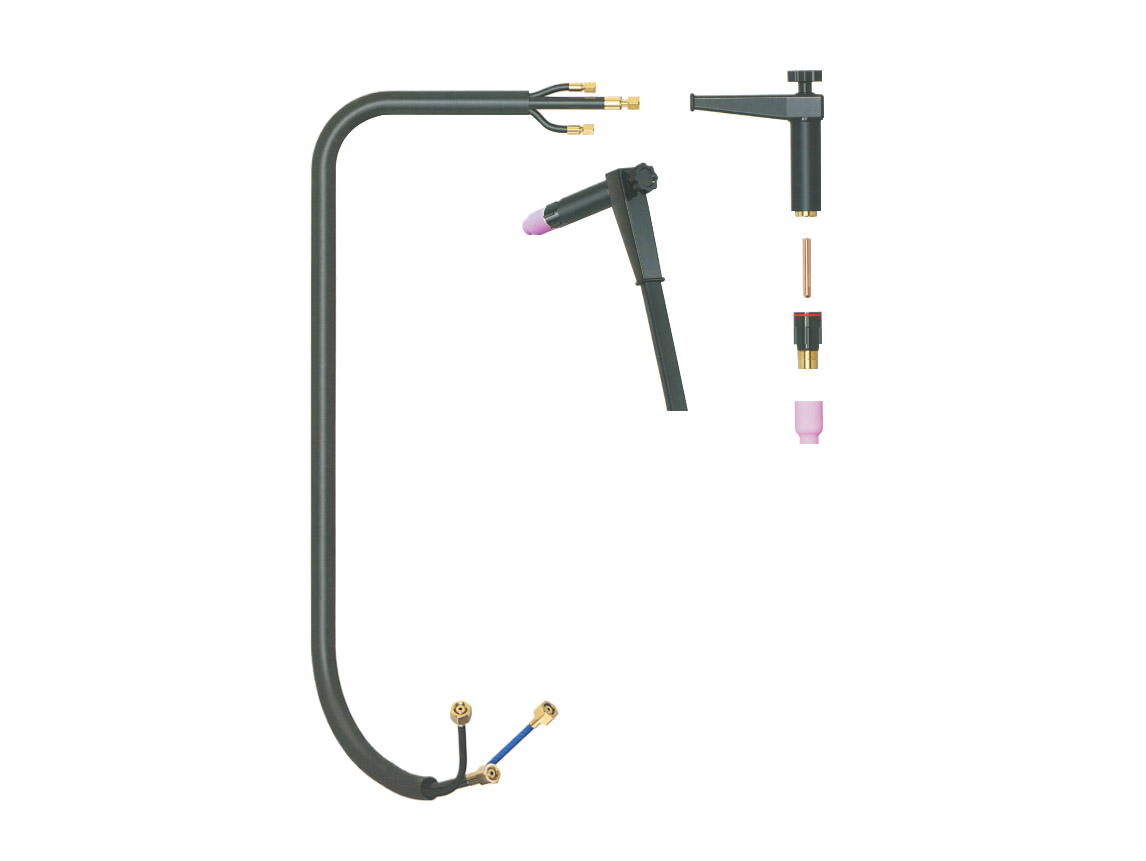
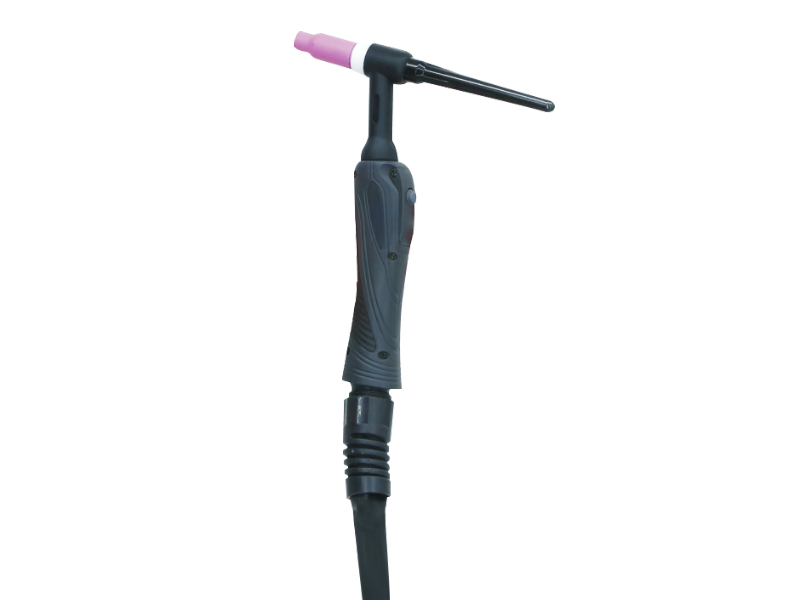
A **250 Amp TIG torch** is engineered to handle thicker materials and demanding welding tasks. The torch is composed of several key components, including the nozzle, collet body, tungsten electrode, and gas diffuser. Each part plays a significant role in the overall function of the torch and the quality of your welds.
- **Nozzle:** Directs the shielding gas to protect the weld pool.
- **Collet Body:** Holds the tungsten electrode in place.
- **Tungsten Electrode:** Conducts electricity to create the arc.
- **Gas Diffuser:** Ensures even distribution of shielding gas.
Understanding these components will help you make informed decisions about your torch settings.
3. Setting Up Your 250 Amp TIG Torch
Setting up your TIG torch properly is essential for achieving the best results. Here’s a step-by-step guide:
1. **Choose the Right Tungsten Electrode:** For a 250 Amp TIG torch, the most common tungsten electrodes are 2% thoriated, 2% ceriated, or lanthanated. The choice depends on your material and application.
2. **Install the Electrode:** Select the correct length and diameter, typically 1/16” to 1/8” for steel welding, and insert it into the collet body, ensuring it’s secured tightly.
3. **Select the Appropriate Nozzle Size:** The nozzle size impacts gas coverage and arc stability. A larger nozzle is suitable for high-amperage applications, while a smaller one is ideal for lower-amperage welding.
4. **Connect the Gas Supply:** Make sure to use pure argon gas for shielding. It’s essential for preventing oxidation and ensuring a clean weld.
5. **Adjust the Flow Rate:** A flow rate of 15-20 cubic feet per hour (CFH) is generally recommended, depending on the nozzle size and material.
4. The Importance of Proper TIG Welding Settings
The settings on your TIG torch significantly affect the quality of your welds. Incorrect settings can lead to issues such as:
- **Porosity:** This occurs when gas is trapped in the weld, leading to weak joints.
- **Burn-Through:** Excessive heat can melt through the base material.
- **Inconsistent Bead Appearance:** Poor settings can result in uneven bead profiles.
By understanding and adjusting your settings, you can prevent these issues and achieve a stronger, cleaner weld.
5. Amperage Settings Explained
**Amperage** is a crucial setting when it comes to TIG welding. It controls the amount of heat generated during the process. Here are some guidelines for determining the right amperage:
- **Material Thickness:** A general rule of thumb is to use 1 amp for every 0.001 inch of material thickness. For example, a 1/8 inch (0.125 inch) thick material requires approximately 125 amps.
- **Material Type:** Different materials require different heat inputs. Aluminum needs more heat than stainless steel, so adjust accordingly.
- **Welding Position:** Vertical and overhead positions often require slightly lower amperage settings to prevent excessive melting.
6. Post-Flow Settings: Why They Matter
**Post-flow settings** refer to the duration that shielding gas continues to flow after you stop welding. This is critical for protecting the weld pool from contamination during the cooling process.
- **Timing:** A post-flow time of 10-15 seconds is typically recommended for most applications. However, thicker materials may need longer to ensure adequate shielding.
- **Effects of Inadequate Post-Flow:** Insufficient post-flow can lead to oxidation and porosity, undermining the integrity of the weld.
Adjusting the post-flow correctly can make a significant difference in weld quality and appearance.
7. Mastering Pulse Settings for 250 Amp TIG Welding
**Pulsed TIG welding** is a method that allows for better control over heat input, particularly useful when working with thin materials or when welding in tricky positions.
- **Setting the Pulse Frequency:** A frequency of 0.5 to 5 Hz is often used. Higher frequencies can create more precise control over the weld pool.
- **Adjusting the Pulse Width:** This determines how long the high amperage is applied. A longer pulse width means more heat, while a shorter pulse width allows for more control and less distortion.
Mastering pulse settings can enhance your ability to produce high-quality welds on various materials.
8. Common Mistakes to Avoid with TIG Torch Settings
As with any skill, avoiding common pitfalls is crucial for success in TIG welding. Here are some mistakes to watch out for:
- **Incorrect Tungsten Preparation:** Failure to properly sharpen the tungsten can lead to poor arc stability. Always ensure your tungsten is ground to a point.
- **Ignoring Shielding Gas Quality:** Always use pure argon gas. Contaminated gas can lead to weld defects.
- **Neglecting Torch Angle:** The angle of your torch affects the heat distribution. A 15-20 degree angle is typically optimal.
- **Overheating the Workpiece:** Always monitor your heat input to avoid burn-through, especially with thin materials.
By being aware of these common mistakes, you can improve your welding performance and results.
9. Frequently Asked Questions
What is the ideal tungsten electrode for a 250 Amp TIG torch?
The ideal tungsten electrode for a 250 Amp TIG torch is typically 2% thoriated or 2% ceriated, providing excellent arc stability and performance.
How do I know the right amperage for different materials?
Use the rule of thumb: 1 amp for every 0.001 inch of material thickness. Adjust based on the type of material and welding position.
Why is my weld porosity occurring?
Weld porosity can occur due to inadequate shielding gas coverage, contamination of the base material, or incorrect gas flow settings.
What is the benefit of using pulsed TIG welding?
Pulsed TIG welding allows for better control over heat input, reducing the risk of burn-through and providing versatility for welding thinner materials.
How can I improve my post-flow settings?
Ensure your post-flow time is adequate for the thickness of the material being welded, generally around 10-15 seconds for most applications.
10. Conclusion
Mastering the 250 Amp TIG torch settings is fundamental for achieving high-quality welds in various applications. By understanding the components of your torch, adjusting amperage, setting post-flow times, and avoiding common mistakes, you can significantly enhance your welding skills. With practice and attention to detail, you'll be well on your way to becoming proficient in TIG welding, ready to tackle any project with confidence. Embrace the journey, and happy welding!
TAG:
Related Posts

Understanding TIG Torch Hoses: Essential Knowledge for Welders
TIG torch hoses are vital components in the welding process, particularly for tungsten inert gas (TIG) welding, which is known for its precision and versatility. These hoses transport the shielding gas, which is crucial for protecting the weld pool from atmospheric contamination. Understanding the specifications and maintenance of TIG torch hoses can significantly impact your welding efficiency an
MESSAGES
We will contact you within one working day. Please pay attention to your email.
Qucik Link
Contact
WhatsApp: +8615833370366
E-mail: zhaoyiqian@hrwelding.cn
Address: No. 105 Yongming Street, Dahe Road, East of Renqiu City, Hebei, China